Thank you for choosing our plugin "PDF Invoice automatically by email" (Shopware AutoInvoice). Whether you want to install the full version of the plugin directly or a 30-day trial version of the plugin, you can follow the guide below through the installation process.
1. System Requirements
To install AutoInvoice, you need at least the following system configuration:
- PHP version 5.6 or higher
- Ioncube-Encoder compatible with your PHP version
- Shopware 5.0 (We recommend Shopware 5.3 and above)
2. Installation
You can install and configure AutoInvoice completely via the Shopware Plugin Manager. Please first log in as an administrator in the Shopware backend and open the Plugin Manager via Settings → Plugin Manager.
2.1 Installation of the trial version
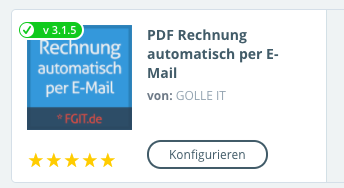
If you want to install the trial version of the plugin and have not already ordered it via the Community Store, simply enter "AutoInvoice" in the search box at the top left. In the search results, select "PDF Invoice automatically by email" by GOLLE IT:
2.2 Installation directly from "My Purchases"
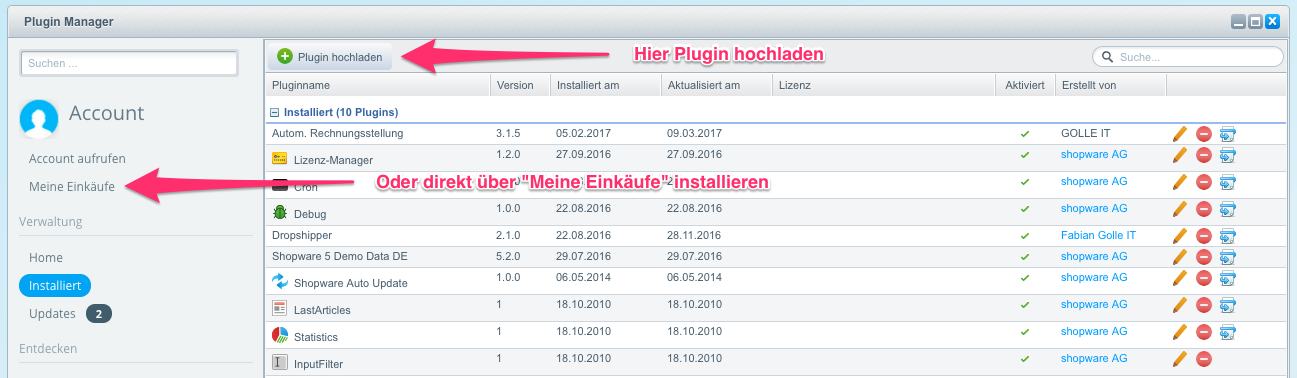
If you have already purchased the plugin in the Shopware Community Store, you can import the plugin and its associated license directly via "My Purchases".
2.3 Installation via zip upload
If you have downloaded the plugin in a specific version directly from your Shopware account, you can also upload the plugin directly via the Plugin Manager.
To do this, please select "Upload plugin" and select the zip file on your local computer.
Please do not forget to import the plugin license in the Plugin Manager. You can find out how to do this here.
3. After installation
After successful installation, the plugin will ask you to clear all caches so that the plugin changes can be applied. Please confirm this message.
Do not forget to activate the plugin as well if you want to use it directly.
4. Configuration
For detailed information on configuring the plugin, see Configuration.
Similar articles
| Related issues |
|---|