The ticket layout is a regular Twig template with some customization options. If you want to change the appearance and text of tickets, follow the instructions below.
Override Ticket Template
To customize the template, log in to your FTP account. Navigate to the plugin's document directory /custom/plugins/FgitsTicketsV3/src/Resources/views/documents. Copy the default.html.twig file located there to one of the directories listed below and rename the copied file. If you want to save the template file in a subdirectory, the path must be specified in the "Ticket Template File" field, for example subdirectory/example.html.twig.
Directories depending on SW version:
vendor/shopware/core/Framework/Resources/views
vendor/shopware/core/Profiling/Resources/views
vendor/shopware/administration/Resources/views
vendor/shopware/storefront/Resources/views
or
vendor/shopware/platform/src/Core/Framework/Resources/views
vendor/shopware/platform/src/Core/Profiling/Resources/views
vendor/shopware/platform/src/Administration/Resources/views
vendor/shopware/platform/src/Storefront/Resources/views
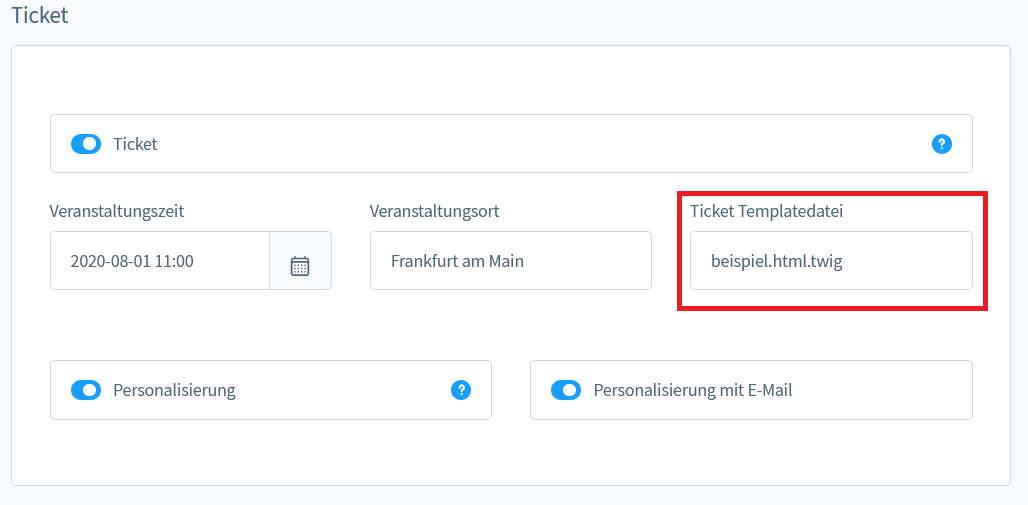
You can now customize the copied file in an editor according to your preferences. Also, in your Shopware backend under Ticket Properties, as indicated below, enter the name of your new file under "Ticket Template File".
Insert an Image in Ticket Template
To display the image, you must use <img src="{{ asset('images/image_name.png') }}" /> in your template.
Then you must create an additional folder called images in the public folder of your shop system (not the plugin) and copy your image file there.